
JNext Timeline Block
For Gutenberg
Trusted by Global Brands
Trusted by Global Brands
About JNext Timeline Block
JNext Timeline Block Plugin for Gutenberg allows you to create beautiful vertical & horizontal “Content-Timeline-Block” and “Timeline-Block”.
JNext Timeline Block Plugin for Gutenberg is a Gutenberg add-on with many additional options for Post-Timeline, Page-Timeline and Content-Timeline to provide the vertical & horizontal timeline Layout.
It is a standalone Gutenberg solution to give wow design possibilities for your blog posts, pages and content with a clean design and fully responsive layout.
- Users can show their stories, events, appointments, concerts, future, and history by using JNext-Timeline Blocks on your website
- Users can easily create a timeline in real-time using Gutenberg blocks and settings.
- Users can create a compact timeline, which means a timeline without a lot of space between stories or items.
- It’s developer friendly and also you can easily customize timeline stories by using default query.
7+ Years Of Committed Service
Projects
Client Retention
Years of Domain Expertise
Experts
Features
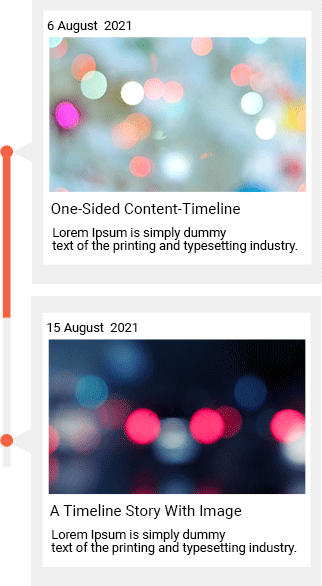
Left-Side Vertical Timeline
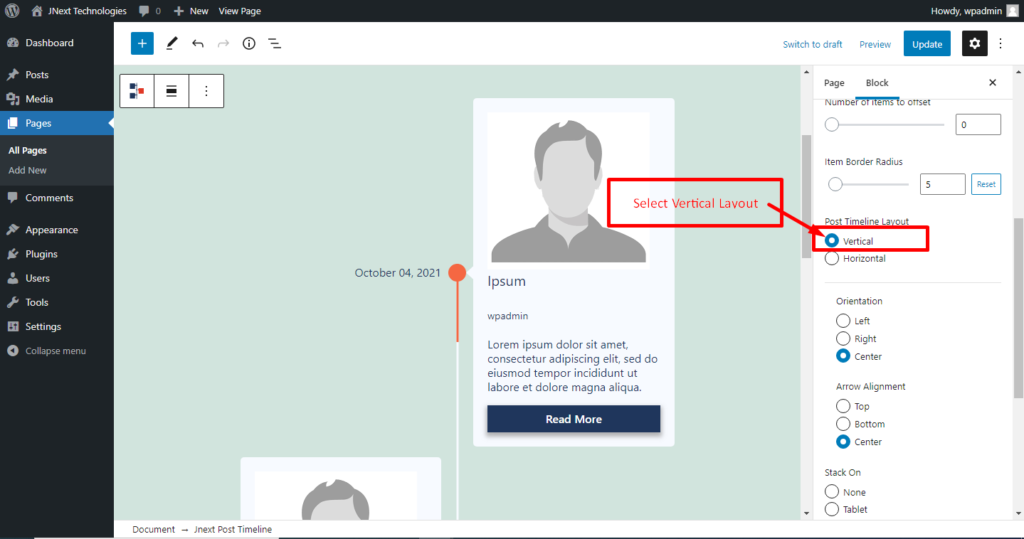
- With this option, you can create left-sided vertical content-timeline or post-timeline.
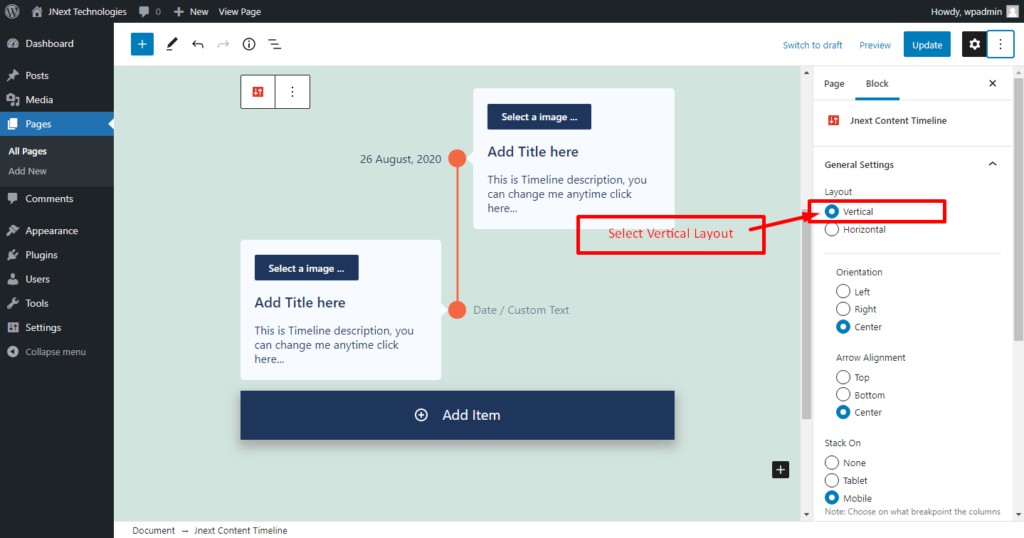
- Orientation Options allow you to change the Orientation of the Connector, also there are three options left, right & both-side and you can select at a time anyone.
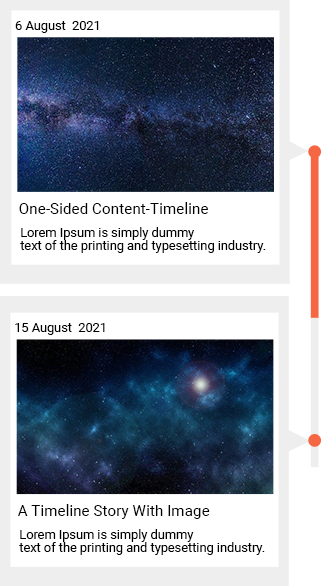
Right-Side Vertical Timeline
- With this option you can create right-sided vertical content-timeline or post-timeline.
- Orientation Options allow to change the Orientation of the Connector, also there is three options left, right & both-side and you can select at a time anyone.
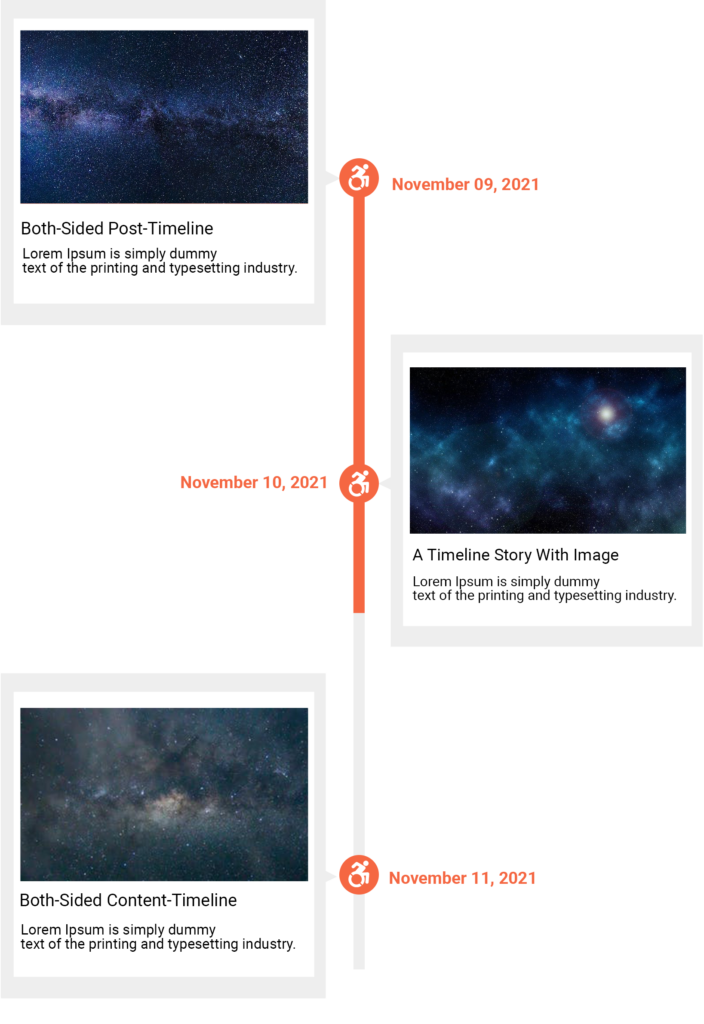
Both-Side Vertical Timeline
- Using this option you can create both-sided vertical content-timeline or post-timeline.
- Orientation Options allow to set Connector in the center of Timeline blocks.
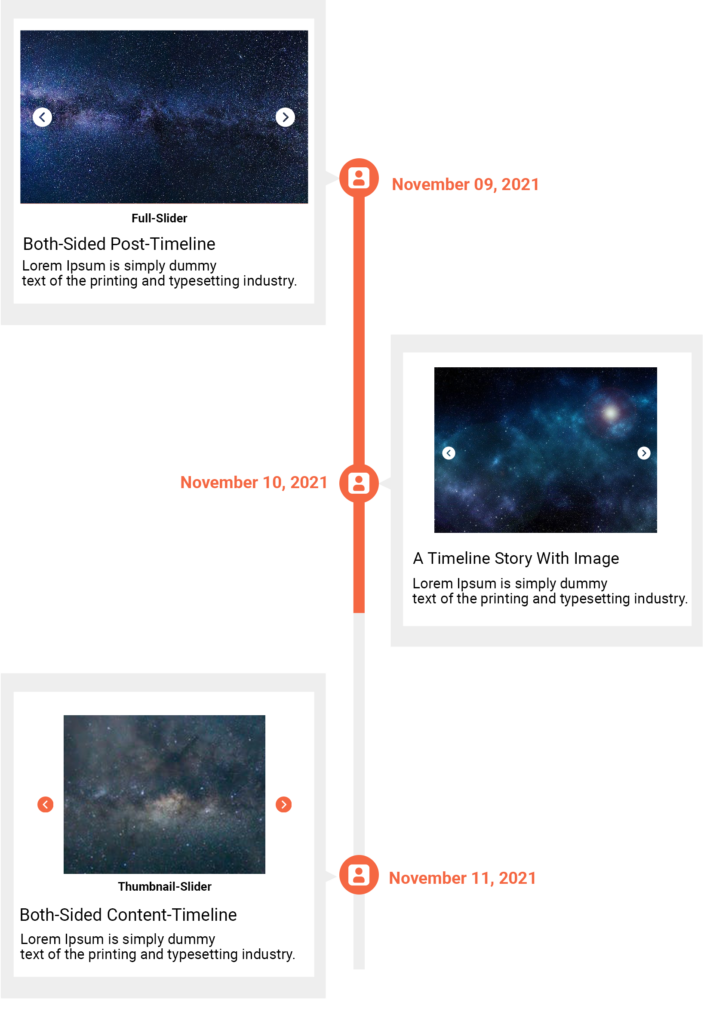
Image Slider With Each Block On
Horizontal Content-Timeline
- We give you an option to add an image slider on each block.
- Inside the Gallery / Image Slider setting, we have options like “Link to”, “Image Size”, “Image Border Radius”, “Slider Icon Size”, “Image Vertical Spacing”, and “Slider Icon Color Settings”.
- Link to: With the link-to option you can link media file or attachment file.
- Image Size: With the image-size option you can set images size like “Thumbnail”, “Medium”, or “Full”.
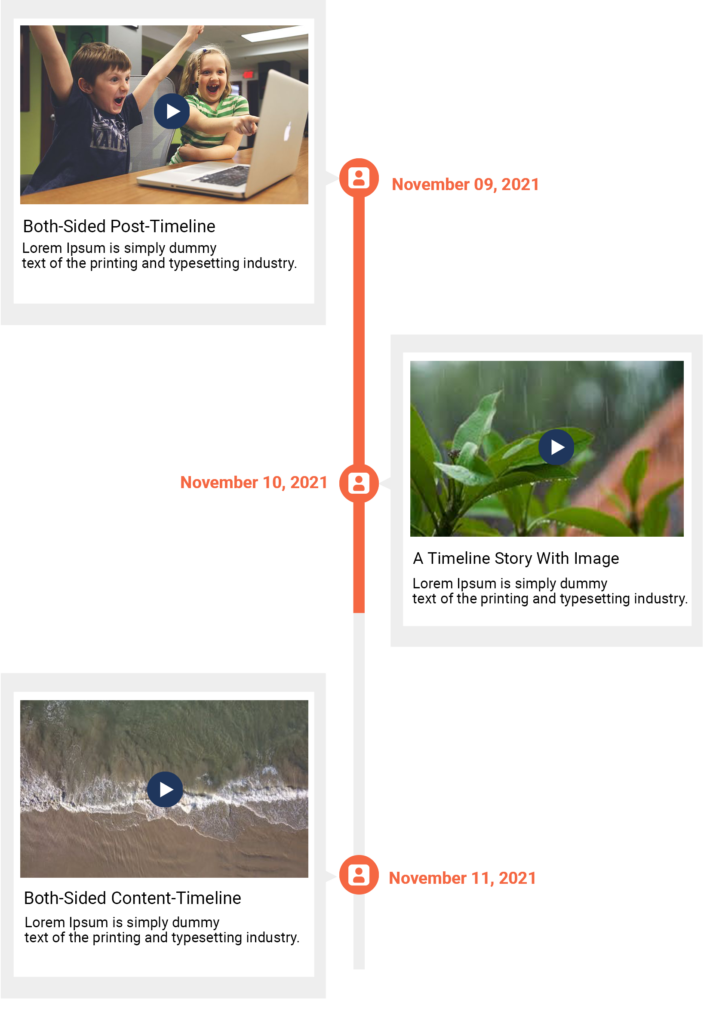
Video With Each Block On
Content-Timeline
- We give you an option to add a video on each block.
- Video Allows you user interaction and gives options like “Play”, “Pause”, “Volume”, “Full-Screen” and “Download”.
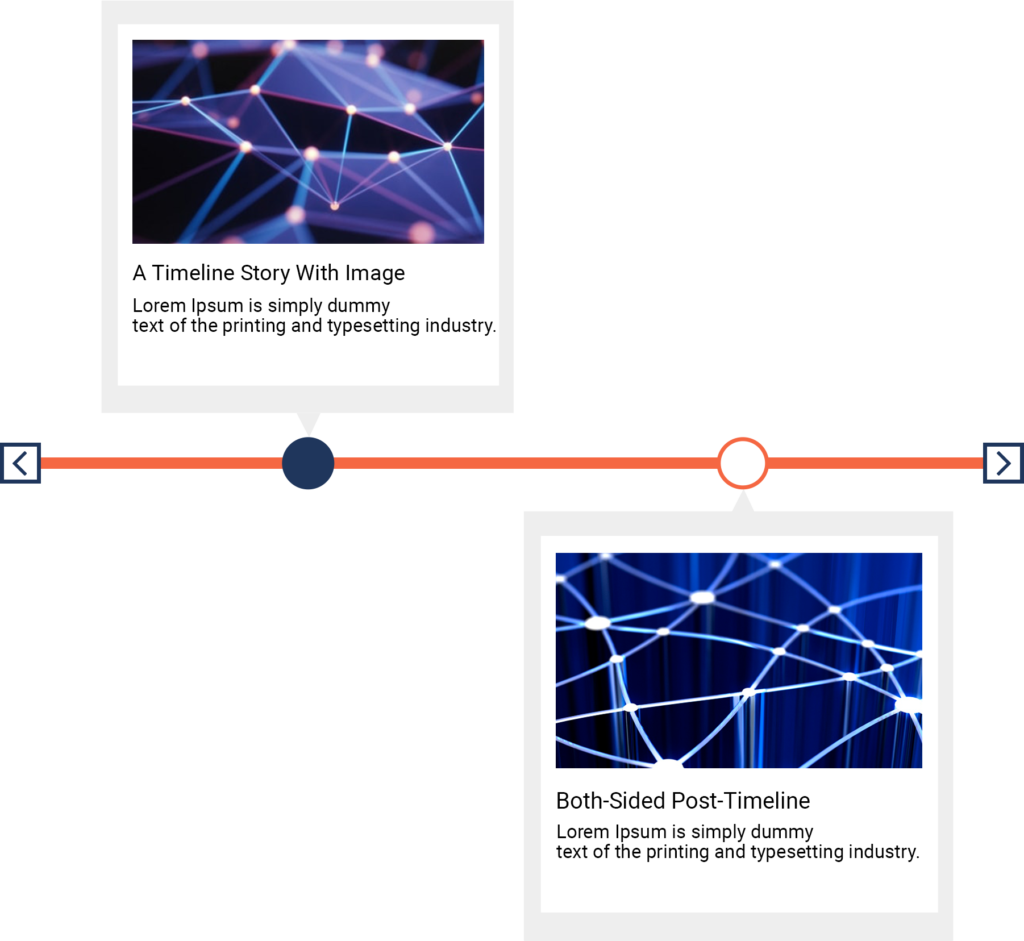
Both-Side Horizontal-Timeline
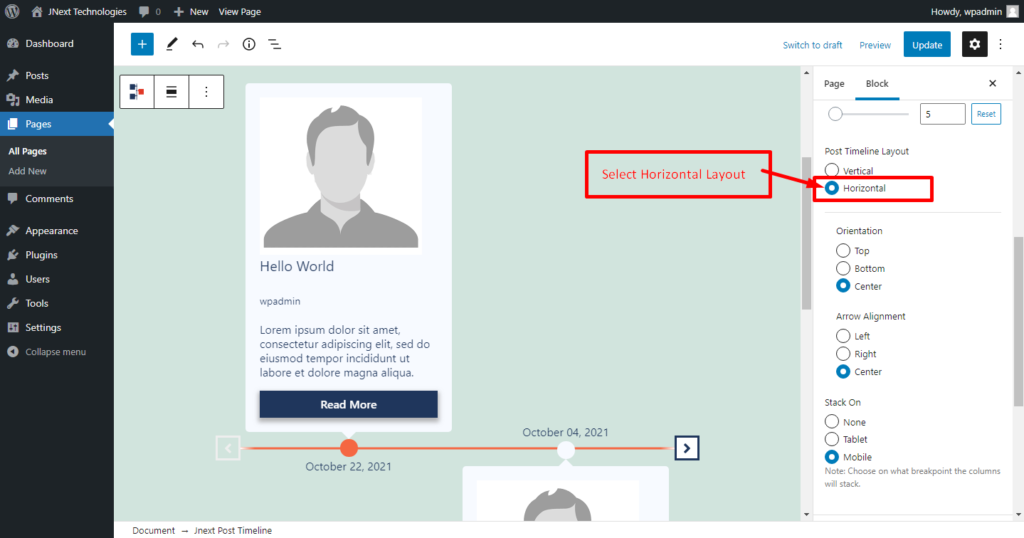
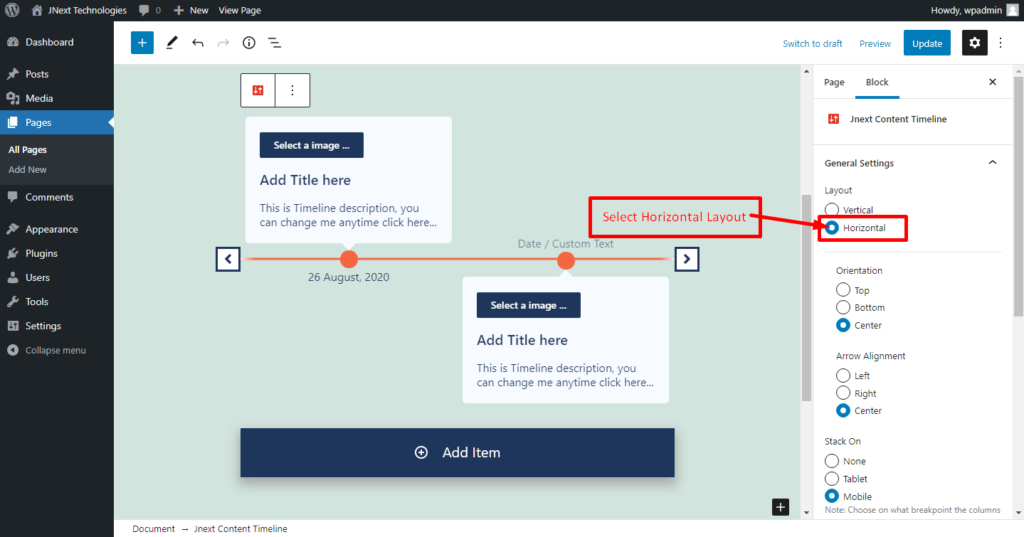
- Using this option you can create both-sided horizontal content-timeline or post-timeline.
- Orientation Options allow to set Connector in the center of Timeline blocks.
- With the Arrow Alignment option you can set Connector point to Left, Right and Center.
Top-Side Horizontal-Timeline
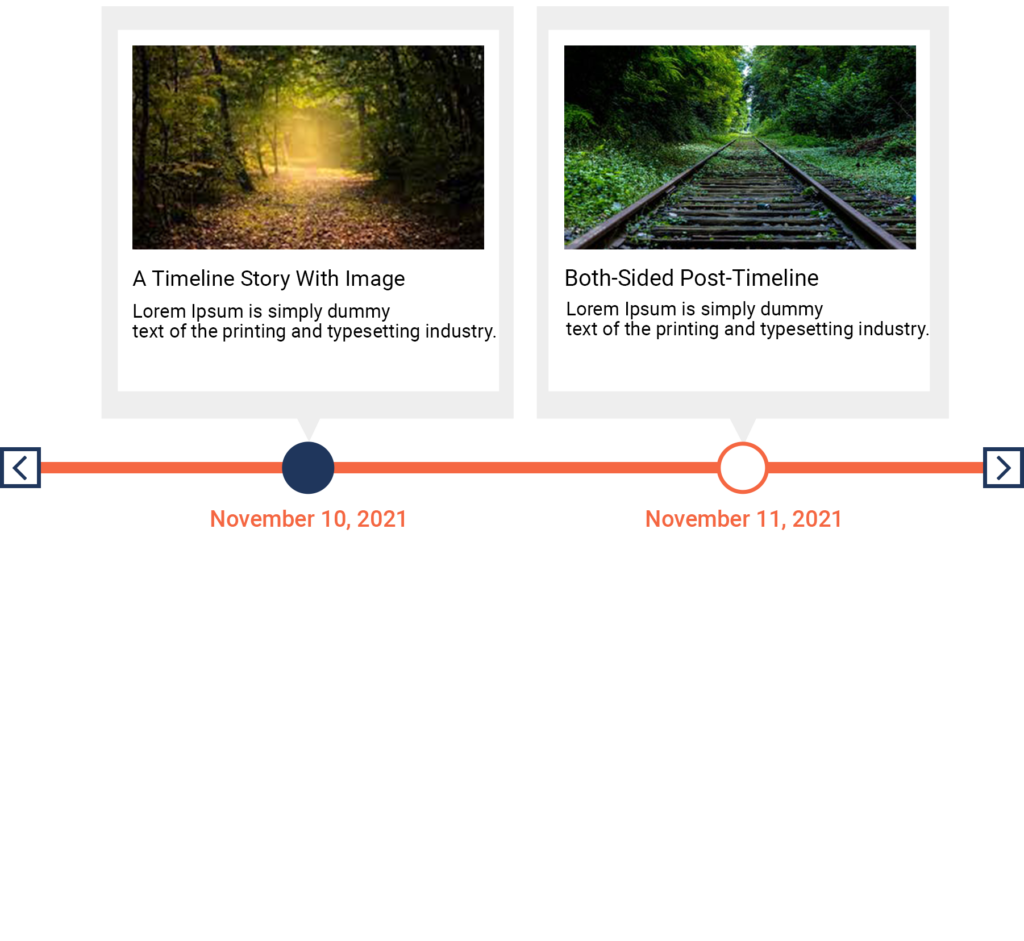
- With this option you can create top-sided vertical content-timeline or post-timeline.
- Orientation Options allow to change the Orientation of the Connector, also there are three options left, right & both-side and you can select at a time anyone.
Bottom-Side Horizontal-Timeline
- With this option you can create bottom-sided vertical content-timeline or post-timeline.
- Orientation Options allow to change the Orientation of the Connector, also there are three options left, right & both-side and you can select one at any time any one.
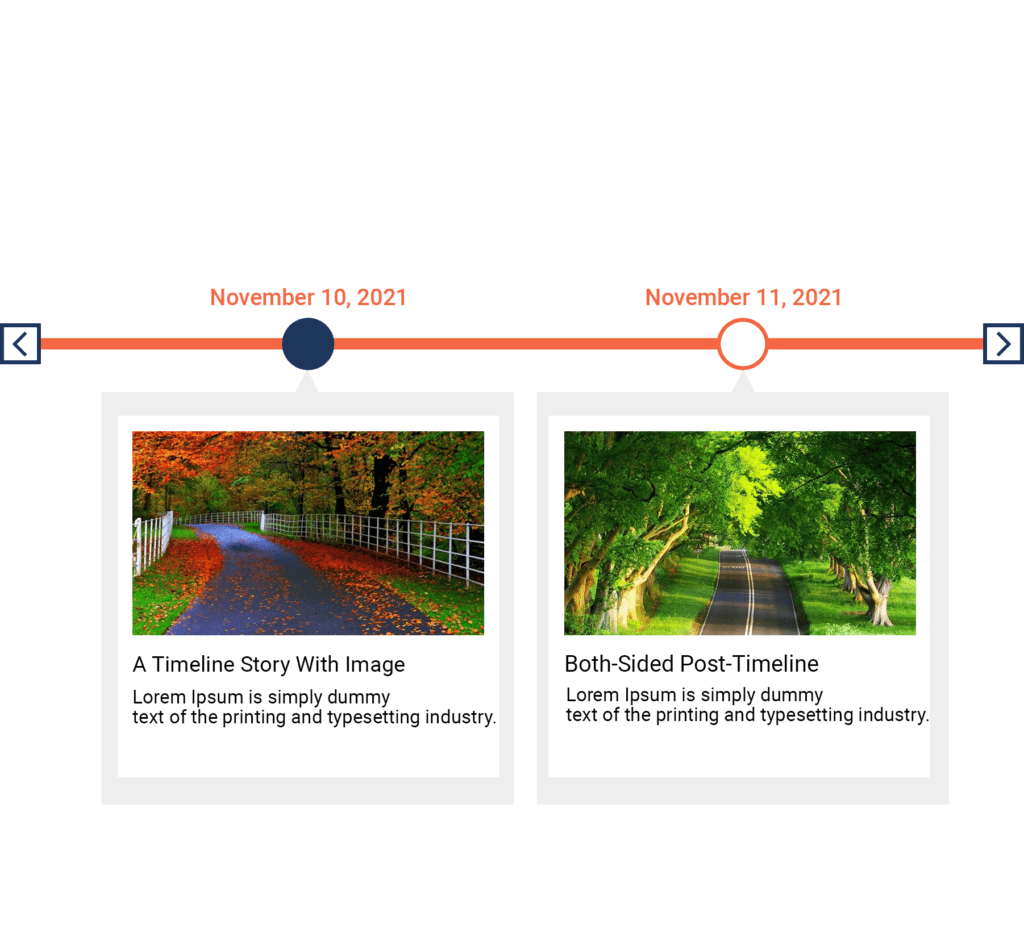
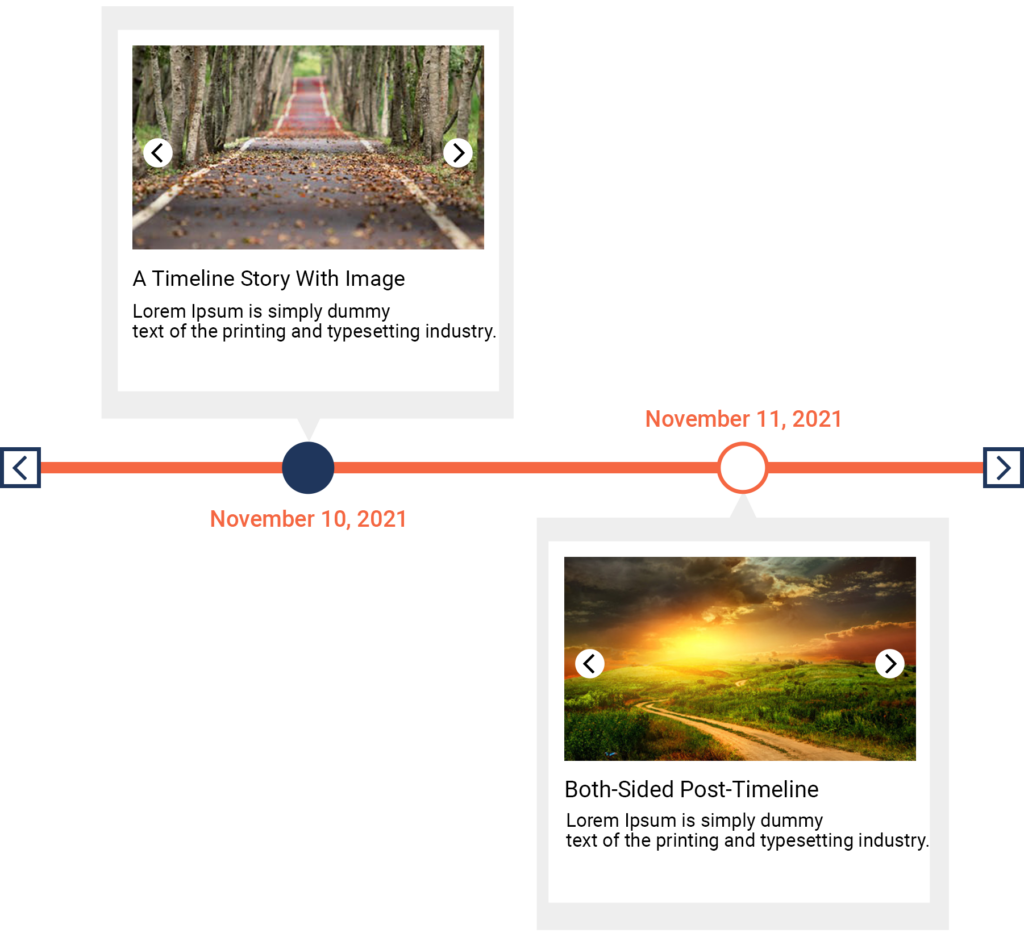
Image Slider With Each Block On
Horizontal Content-Timeline
- We give you a option to add an image slider on each block.
- Inside the Gallery / Image Slider setting, we have options like “Link to”, “Image Size”, “Image Border Radius”, “Slider Icon Size”, “Image Vertical Spacing”, and “Slider Icon Color Settings”.
- Link to: With the link-to option you can link media files or attachment file.
- Image Size: With the image-size option you can set images size like “Thumbnail”, “Medium”, or “Full”.
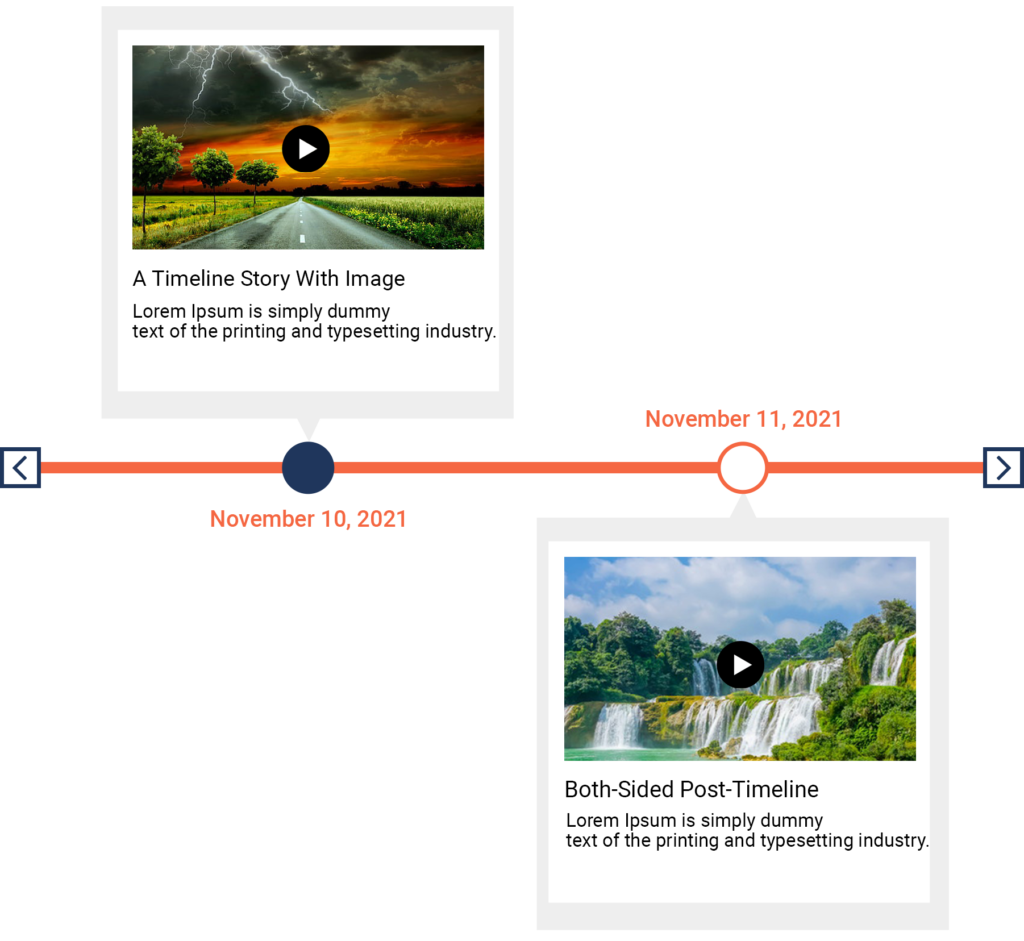
Video With Each Block On Horizontal
Content-Timeline
- We give you an option to add a video on each block.
- Video Allows you to user interaction and gives options like “Play”, “Pause”, “Volume”, “Full-Screen” and “Download”.
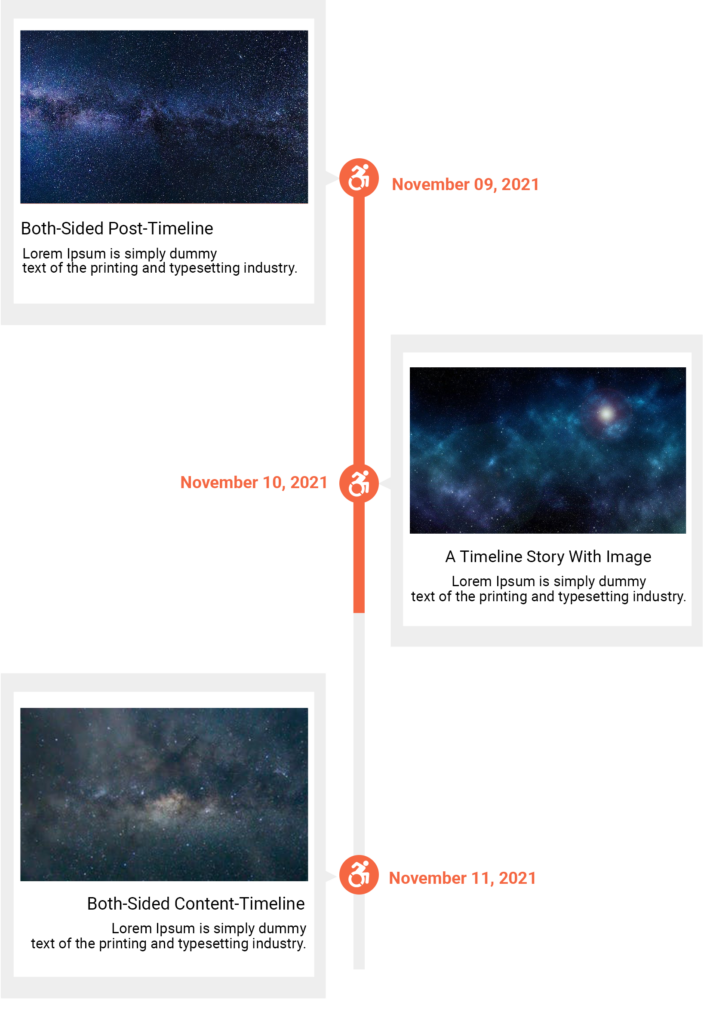
Item/Block Setting
For Timeline-Block
- Using the Item/Block setting you can set the text alignment of your block title and content.
- Inside the Item/Block setting we have the option “Text Align” to set block text “Left”, “Right”, “Center” and “Justify”.
Heading, Content And Date/Custom Text
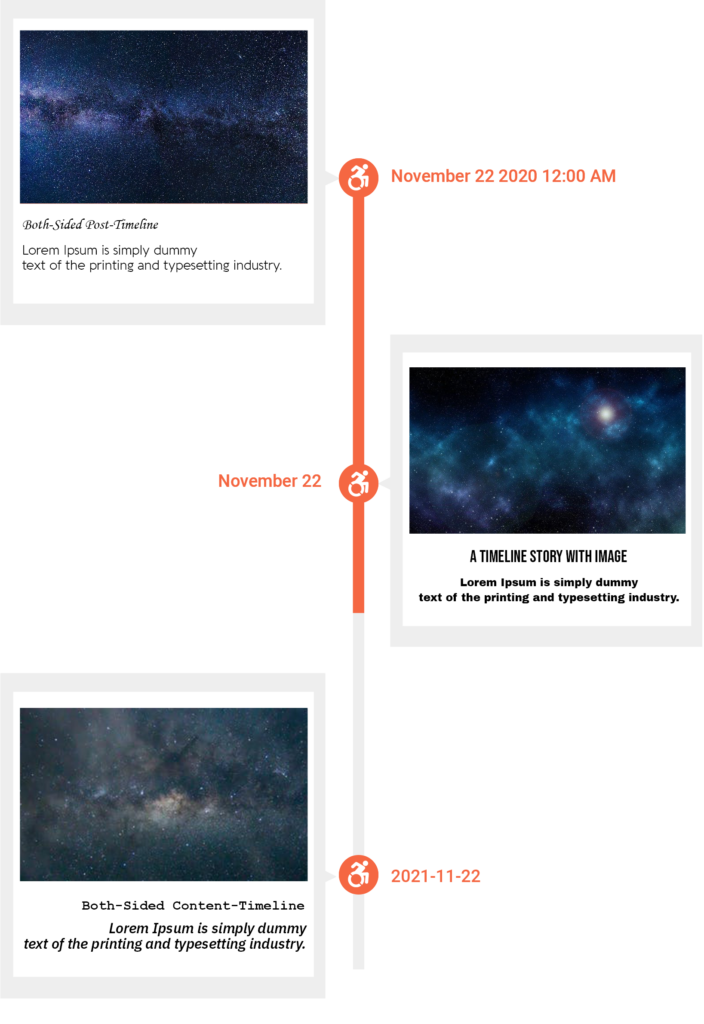
Typography For Timeline-Block
- We give you a separate typography option for heading, content and Date/ Custom text, so you can set different font family or their respective font size, line-height and font-weight.
- Even you can set the Date format as per your requirement.
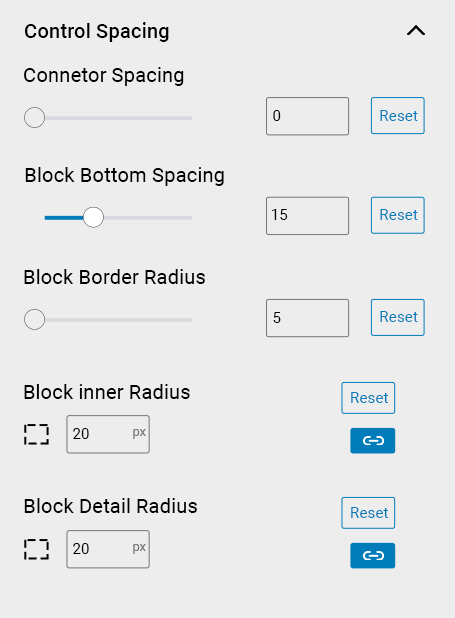
Control Spacing Setting
For Timeline-Block
- Using this setting you can manage “Connector Spacing”, “Blocks Bottom Spacing”, “Block Border Radius”, “Block Inner Spacing”, “Block Detail Spacing”.
- Inside the Item/Block setting we have the option “Text Align” to set block text “Left”, “Right”, “Center” and “Justify”.
Icon & Connector Setting
For Timeline-Block
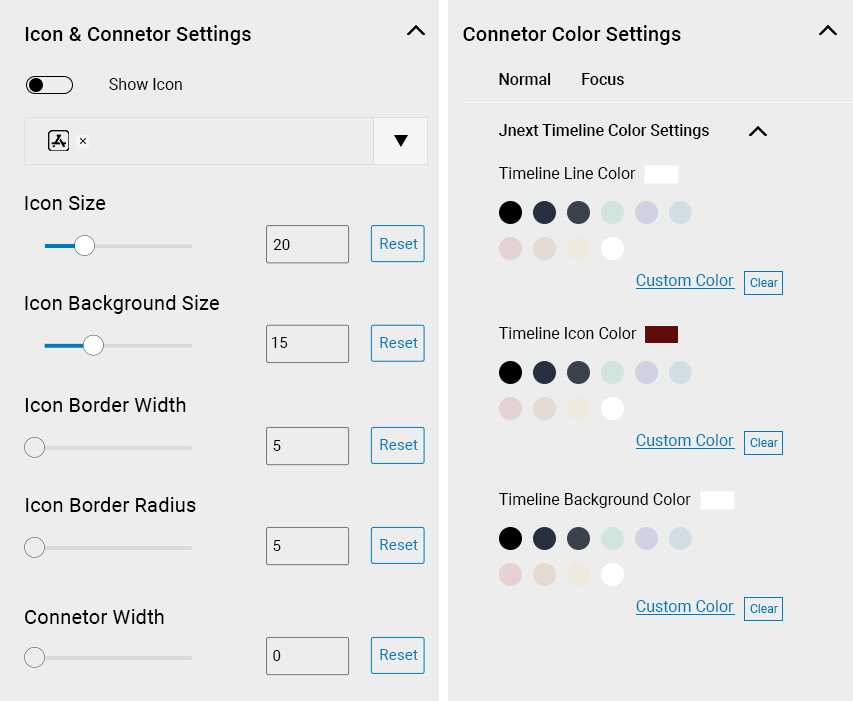
- With the Icon option you can select Icon from Dropdown Option for Timeline.
- Also, you can specify the “Icon Size”, “Icon Background Size”, “Icon Border Width”, “Icon Border Radius”, and “Connector Width”.
- With the Icon color setting you can specify a color for “Timeline Line Color”, “Timeline Icon Color”, “Timeline Background Color”, and “Timeline Border Color” Also you can set your custom color.
Custom-Post-Type Timeline
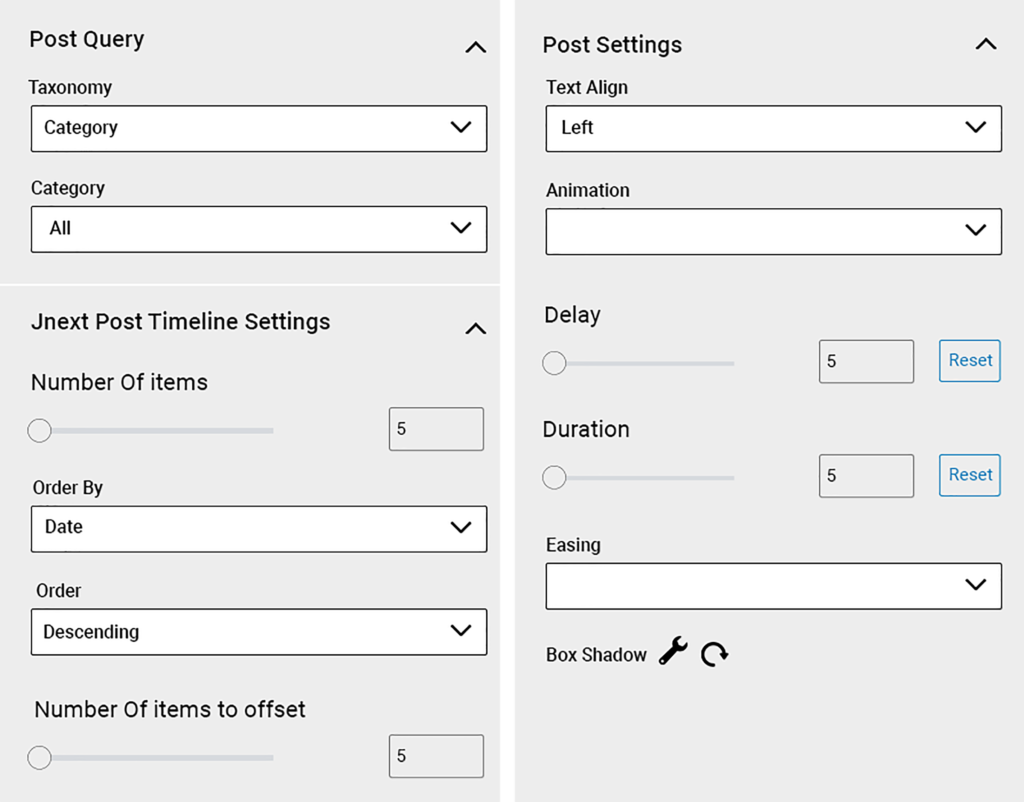
- We give you an option to select custom-post-type to make vertical and horizontal Timelne-Block.
- In the Post-Query Setting you can select your Custom-Taxonomy, Set the number of items that you want to show, Order by and Sort Order for Custom-Post Listing, and Set the number of items to offset.
- Post-Settings For the Timeline lookup In that you can Set appropriate Text-Align, Animation, Easing, and Box-Shadow.
Custom-Post-Type Setting
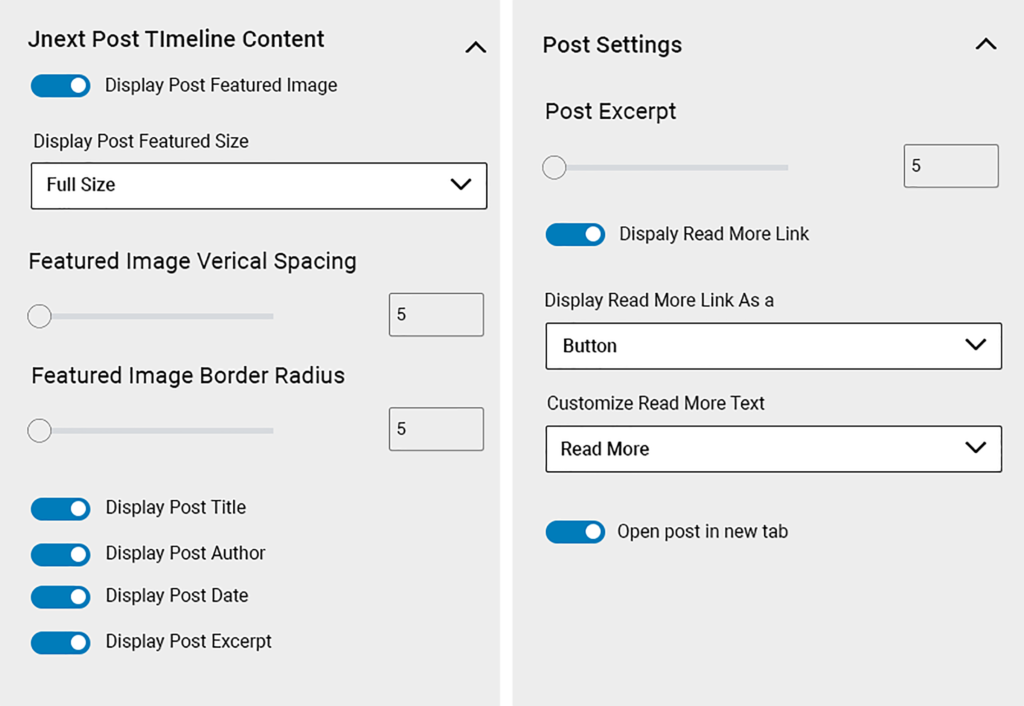
- In the Jnext post timeline, the content setting gives you an ability to show your “Feature-Image”, Image-Size like “Full”, “Medium”, “Thumbnail”, even you can show or hide require fields like “Post-Title”, “Post-Author”, “Post-Date”, “Post-Excerpt”.
- Post Settings For give length to your “Post-Excerpt”, “Show/Hide Read-More Button”, “Read-more as Link or Button”, “Customize Read-More Text”, and “Open Post in New Tab”.
- With the Icon color setting you can specify a color for “Timeline Line Color”, “Timeline Icon Color”, “Timeline Background Color”, and “Timeline Border Color” Also you can set your custom color.
Video Tutorials
How to Install “JNext Timeline Blocks” Plugin
Vertical Content-Timeline-Block
Horizontal Content-Timeline-Block
Vertical Post-Timeline-Block
Horizontal Post-Timeline-Block
Plugin Screenshots
Installation Process
Installation Via WordPress Admin Area
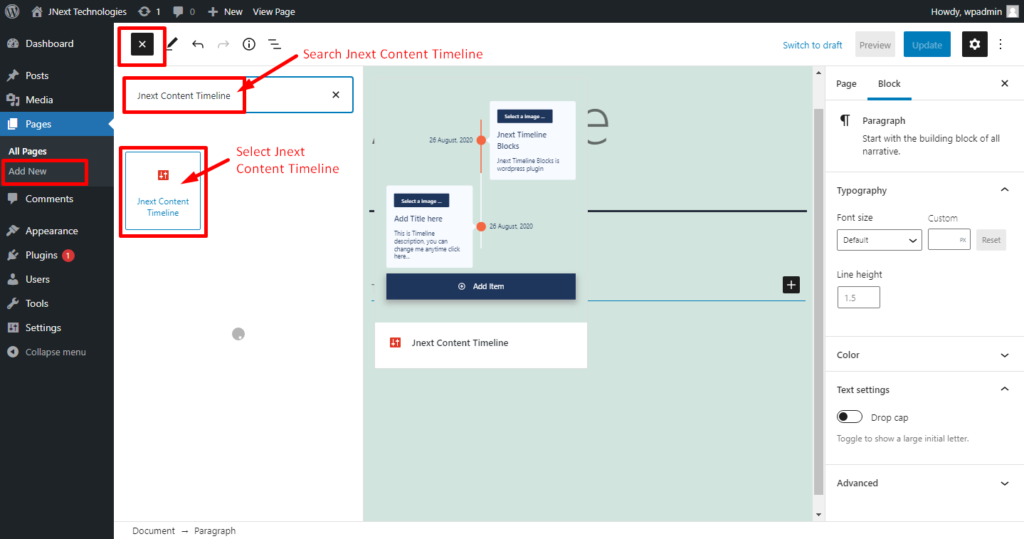
- Log into your wordpress admin area.
- Go to Dashboard » Plugin
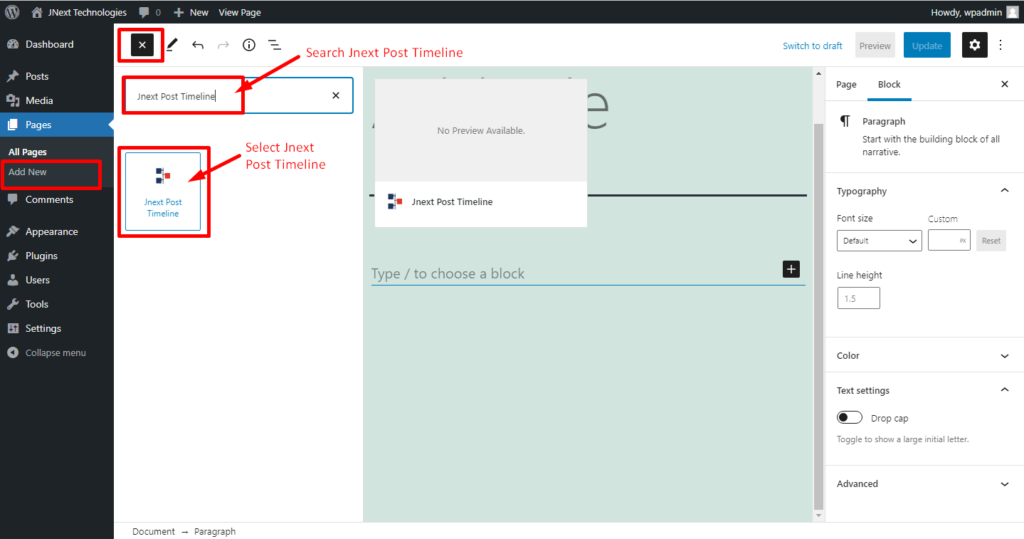
- Search for “Jnext Timeline Blocks”.
- Now click on the “Install Now” button of the “Jnext Timeline Blocks” plugin.
- Click on Activate once the plugin is installed.
Installation Via FTP Account
- Download the “jnext-timeline-blocks.zip” file.
- Extract Zip file.
- Using your FTP program, upload the non-zipped plugin folder into the “/wp-content/plugins” folder.
- Activate the plugin through the “Plugins” menu in WordPress.
Frequently Asked Questions
JNext Timeline Block Plugin gives the option to make Post-Timeline, Page-Timeline and Content-Timeline with the vertical & horizontal timeline Layout.
Yes, We always keep our plugin up-to-date with the latest version of WordPress.
Please refer to this plugin update instructions to update the JNext Timeline Block Plugin to the latest version.
If you have made any custom changes to the plugin code, make a backup of your existing plugin and save it to your computer before updating.
Most WP plugins work just fine with our plugin. That said, there are thousands of plugins, and there’s no way to guarantee they’ll all function properly with our plugin. If you have a problem, we’ll do our best to help you resolve it or find an alternate plugin with the same functionality.
Rate Us On WordPress.Org

If you like JNext Timeline Block For Gutenberg Plugin, we’d love to get a review from you on wordpress.org. Thanks for your help!
In the rare case of an inconvenience, please open a support ticket, and we will try to find a solution for you.
Our Other Services
WooCommerce Services
- Headless WooCommerce
- WooCommerce Plugin Development
- WooCommerce Theme Development
- Figma/XD to WooCommerce
- Inventory and Order Management
- Payment Gateway Integration
- WooCommerce Shipping &Tax Setup
- Ecommerce SEO

TEAM id
jnext_services
email us [email protected]
india
+91 98587 63596
United Kingdom
+ 44 77679 57915